Introduction:
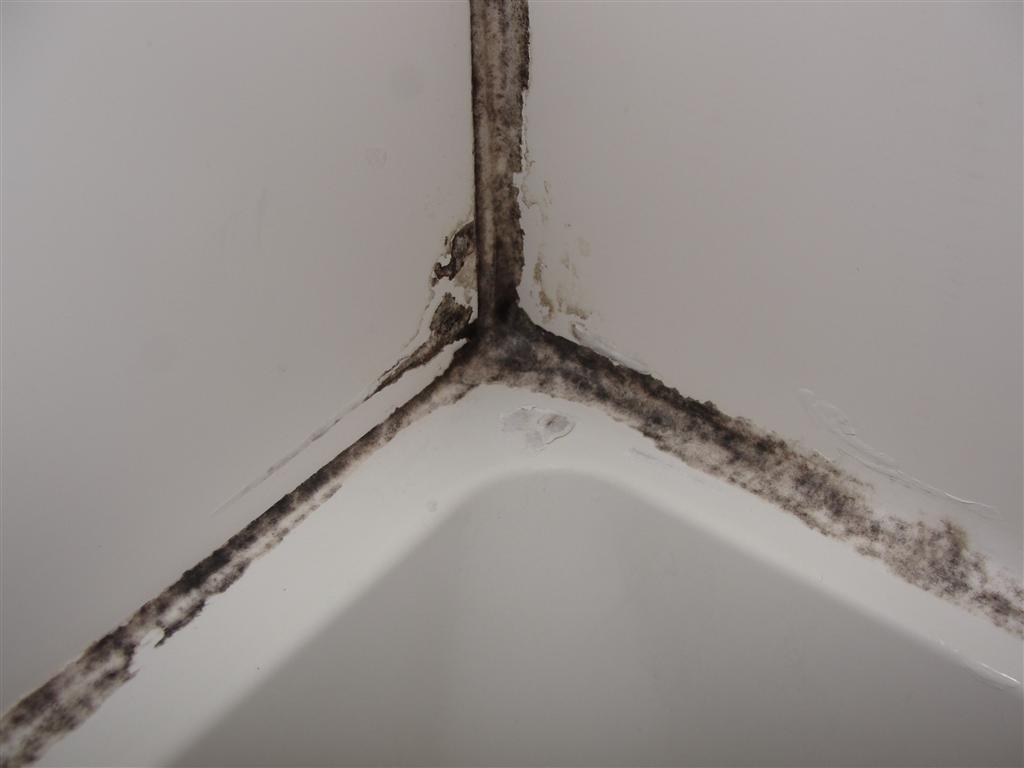
The shower, a sanctuary of cleanliness and relaxation, can quickly transform into a breeding ground for mold, especially in the often-overlooked corners of caulking. Mold not only mars the visual appeal of your bathroom but can also pose health risks, making its removal and prevention a vital aspect of home maintenance. In this detailed guide, we will take you through a step-by-step process, offering insights and tips to ensure a thorough and effective cleanup.
I. Understanding the Importance:
The insidious growth of mold in shower caulking is not just a cosmetic concern. Beyond the unsightly appearance, mold can trigger respiratory issues and allergies. Regular maintenance is pivotal to prevent mold from taking hold and to uphold a hygienic bathroom environment that promotes both physical and mental well-being.
II. Gathering Supplies:
Before embarking on the cleaning journey, gather the essential supplies. Mold cleaner or bleach, an old toothbrush or scrub brush, rubber gloves, safety goggles, and optionally, a respirator mask are must-haves. Consider opting for eco-friendly or non-toxic cleaning solutions for an environmentally conscious approach to mold removal.
III. Preparing the Area:
Proper ventilation is key to minimizing exposure to cleaning fumes. Open windows or use exhaust fans to ensure a well-ventilated space. Clear the shower area of personal items and accessories, and make sure the surfaces are dry before commencing the cleaning process.
IV. Inspection and Identification:
A careful inspection of the caulking is the first step in effective mold removal. Identify the type of mold if possible and assess the extent of the infestation. This initial scrutiny guides the cleaning approach, ensuring a targeted and efficient cleanup.
V. Pre-Cleaning Steps:
Prepare a cleaning solution by diluting mold cleaner or bleach according to the manufacturer’s instructions. Safety is paramount, so don protective gear such as gloves and safety goggles. Test the cleaning solution on a small, inconspicuous area to check for any adverse reactions before applying it to the entire affected surface.
VI. Cleaning the Mold:
Apply the cleaning solution to the mold-affected caulk, using an old toothbrush or scrub brush to agitate and scrub away the mold. Focus on corners and seams, as these are prime spots for mold growth. Repeat the process as needed until the mold is completely eradicated.
VII. Rinse and Dry:
After successfully removing the mold, it’s crucial to rinse the shower caulk thoroughly with water to eliminate any residual cleaning solution. Ensure the area is completely dry to thwart any potential for future mold growth. Consider using a fan or opening windows to expedite the drying process.
VIII. Preventative Measures:
To fortify your defenses against future mold invasions, explore mold-resistant caulk options for future applications. Commit to regular cleaning and maintenance practices to thwart mold recurrence. Additionally, enhancing bathroom ventilation can significantly contribute to a mold-free environment.
IX. Inspection and Maintenance Schedule:
Establish a routine for inspecting shower caulking for mold, ideally on a monthly basis. Schedule regular maintenance to address any early signs of mold growth promptly. Proactivity in maintenance is key to keeping your bathroom environment pristine.
FAQs:
Q1: Can I use natural cleaning solutions instead of bleach?
A1: Yes, natural alternatives like vinegar or baking soda can be effective at removing mold. They offer a non-toxic and environmentally friendly option.
Q2: How often should I inspect my shower caulking for mold?
A2: It’s advisable to inspect caulking monthly and perform a deep clean at least twice a year. Regular inspection allows for early detection and intervention.
Q3: Is it possible to prevent mold without replacing the caulk?
A3: Yes, regular cleaning and proper ventilation can prevent mold growth without needing to replace the caulk. Choose mold-resistant caulk for added protection.
Q4: What if the mold returns after cleaning?
A4: Reevaluate your cleaning methods and ensure the area is adequately ventilated. Consider using mold-resistant caulk for future applications to minimize the chances of recurrence. Regular maintenance is key to sustained mold prevention.
X. Conclusion:
Maintaining a mold-free shower requires diligence and regular care. By following these comprehensive steps and adopting preventative measures, you not only remove existing mold but also create a robust strategy to keep your shower caulking pristine for the long term. Regular inspection and maintenance will ensure that your bathroom remains a clean and healthy oasis, promoting both your physical and mental well-being.

A group of home improvement enthusiasts and bathroom design experts, combines in-depth knowledge and a shared passion to deliver engaging, informative content that guides readers through the world of bathroom innovation and style.

Leave a Reply