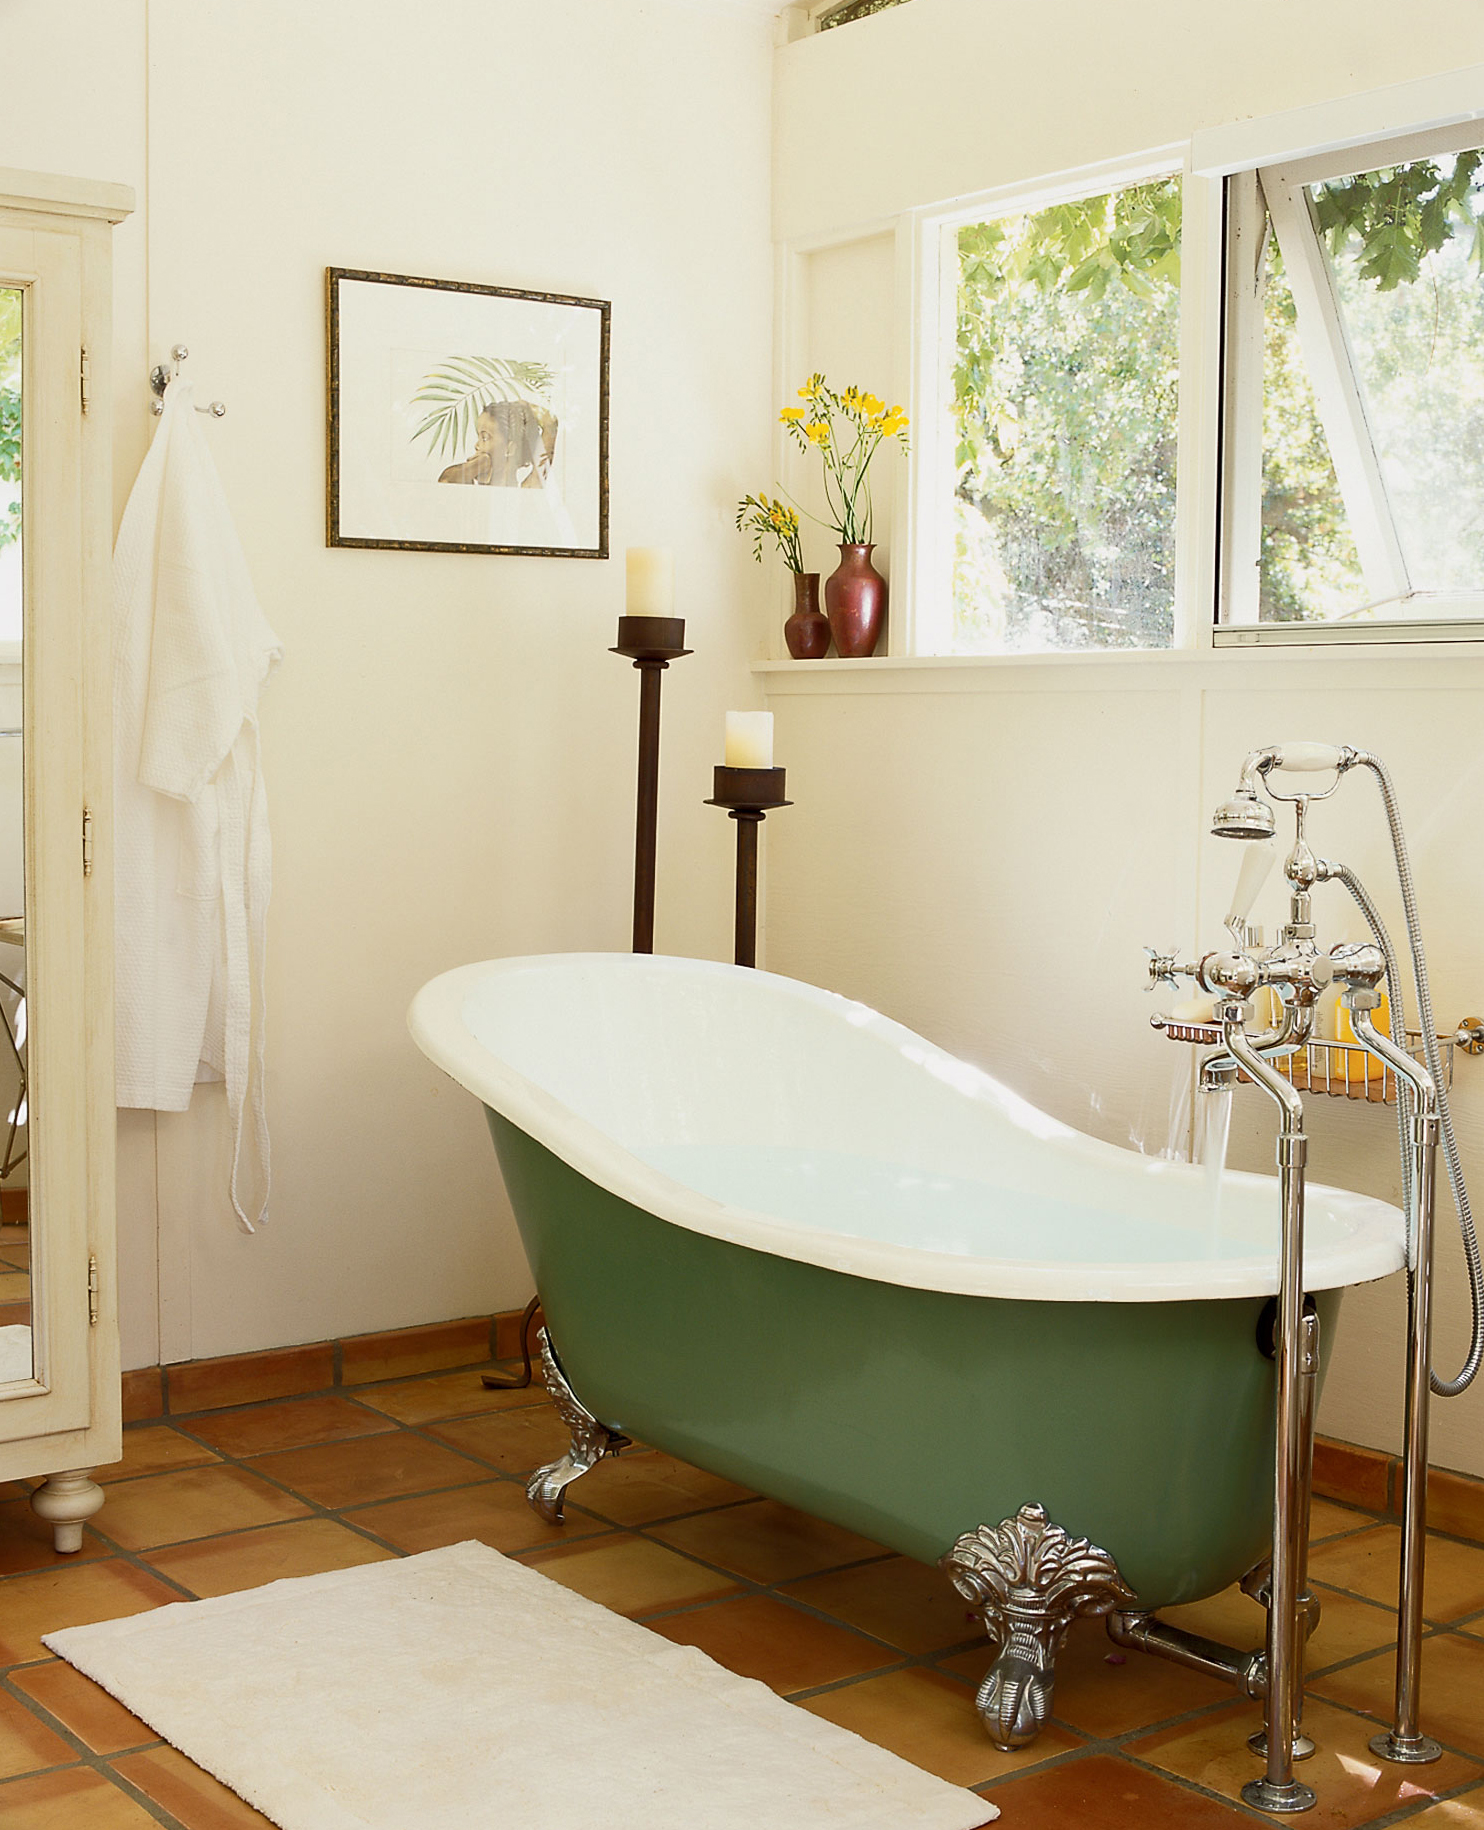
Your bathtub, a sanctuary of relaxation and rejuvenation, may lose its luster over time due to continuous use, staining, or simply the passage of years. While the idea of replacing the bathtub might seem like the only solution, a cost-effective and creative alternative is to embark on a DIY bathtub painting project. This step-by-step guide will not only help you breathe new life into your bathroom but will also save you money compared to a full replacement.
Gathering Materials and Tools:
Before diving into the project, assemble all necessary materials and tools. Invest in a high-quality bathtub paint kit that typically includes epoxy paint, bonding primer, and a topcoat.
You’ll also need painter’s tape, sandpaper, a sponge, cleaning solution, and a face mask to ensure a safe and successful painting process.
Prepping the Surface:
Begin by thoroughly cleaning the bathtub using an appropriate cleaning solution to eliminate soap scum, oils, and any residue that may hinder paint adhesion.
Lightly sand the surface to create a textured finish, providing a better grip for the primer and paint.
Masking and Taping:
Protect the surrounding areas and fixtures by using painter’s tape to mask off edges and any parts of the bathroom you want to avoid painting.
Taking the time to mask properly ensures a clean and professional finish, making your DIY project look like it was done by a seasoned pro.
Priming the Bathtub:
Apply a bonding primer to the bathtub surface. This step is crucial for enhancing paint adhesion and creating a durable foundation for the topcoat.
Make sure to follow the manufacturer’s instructions regarding drying times to allow the primer to set adequately.
Choosing the Right Paint:
Select a bathtub paint specifically formulated for this purpose. Epoxy-based paints are popular choices due to their durability and water resistance.
Additionally, consider the aesthetic aspect, choosing a color that complements your bathroom decor and personal style.
Applying the Paint:
Using a high-quality brush or roller, apply the bathtub paint evenly, following the instructions for drying times and the number of coats required.
Be patient during this step and allow each coat to dry thoroughly before proceeding to ensure a smooth and professional-looking finish.
Adding a Sealant:
Once the final coat has dried, consider applying a clear sealant. This extra layer provides an additional shield to protect the paint, extending its longevity and enhancing resistance to water damage—a crucial consideration in high-moisture environments like bathrooms.
Curing and Drying:
Allow the painted bathtub to cure for the recommended time before using it. Curing ensures the paint fully adheres and hardens, providing a durable finish that can withstand regular use. Patience during this phase will pay off in the long run.
FAQs:
Q1. Can I paint any type of bathtub?
A1. While most bathtubs can be painted, it’s essential to check the material. Fiberglass, porcelain, and acrylic bathtubs are commonly painted, but certain materials may require specific paint types.
Q2. How long does the entire process take?
A2. The duration depends on drying times and the number of coats required. Typically, it takes a few days from prepping to the final cure, with each step requiring adequate drying time.
Q3. Is DIY bathtub painting cost-effective?
A3. Yes, DIY bathtub painting is significantly more cost-effective than replacing the entire bathtub, saving you money without compromising on aesthetics.
Q4. Can I use regular paint for the bathtub?
A4. No, it’s crucial to use a bathtub paint designed for high-moisture environments. Regular paint won’t withstand the conditions of a bathroom and may peel or bubble over time.
Q5. How long does the painted bathtub last?
A5. With proper preparation and maintenance, a professionally painted bathtub can last for several years, making it a durable and worthwhile investment.
Q6. Can I still use the bathtub during the curing process?
A6. It’s advisable to refrain from using the bathtub during the curing process to ensure the paint sets properly. This temporary inconvenience guarantees a longer-lasting and more resilient finish.
Conclusion:
Embarking on a DIY bathtub painting project is a rewarding endeavor that allows you to transform your bathroom without a hefty price tag. By following this comprehensive guide and addressing common questions, you’ll achieve professional-looking results, turning your bathtub into a focal point that enhances the overall aesthetic appeal of your bathroom for years to come. Enjoy the satisfaction of a rejuvenated space and the sense of accomplishment that comes with a successful DIY project.

A group of home improvement enthusiasts and bathroom design experts, combines in-depth knowledge and a shared passion to deliver engaging, informative content that guides readers through the world of bathroom innovation and style.

Leave a Reply