A leaky shower faucet can be a persistent annoyance that not only results in water wastage but also contributes to increased water bills and potential damage to your bathroom. If your shower features a two-handle design, addressing the issue might seem daunting at first. However, armed with the right knowledge and tools, fixing a leaky shower faucet can be a rewarding DIY project. This comprehensive guide will walk you through each step, offering detailed insights to help you troubleshoot and repair your two-handle shower faucet efficiently.
Understanding the Two-Handle Faucet System:
The foundation of any successful repair is a clear understanding of the system you’re working with. In the case of a two-handle faucet, your shower setup likely comprises hot and cold handles, a cartridge or stem assembly, and various connecting parts.
Take a moment to familiarize yourself with these components, as it will make the troubleshooting process much more straightforward.
Gather Your Tools and Materials:
Before embarking on the repair journey, ensure you have all the necessary tools and materials at your disposal. Common items include an adjustable wrench, screwdrivers, plumber’s tape, replacement parts (cartridge or O-rings), and a bucket or towel to contain any potential water spillage.
Don’t forget to turn off the water supply to the shower before commencing the repair.
Identifying the Source of the Leak:
Begin the troubleshooting process by identifying the source of the leak. Is it emanating from the handles, the spout, or another area? This crucial step will help you pinpoint the specific component that requires attention.
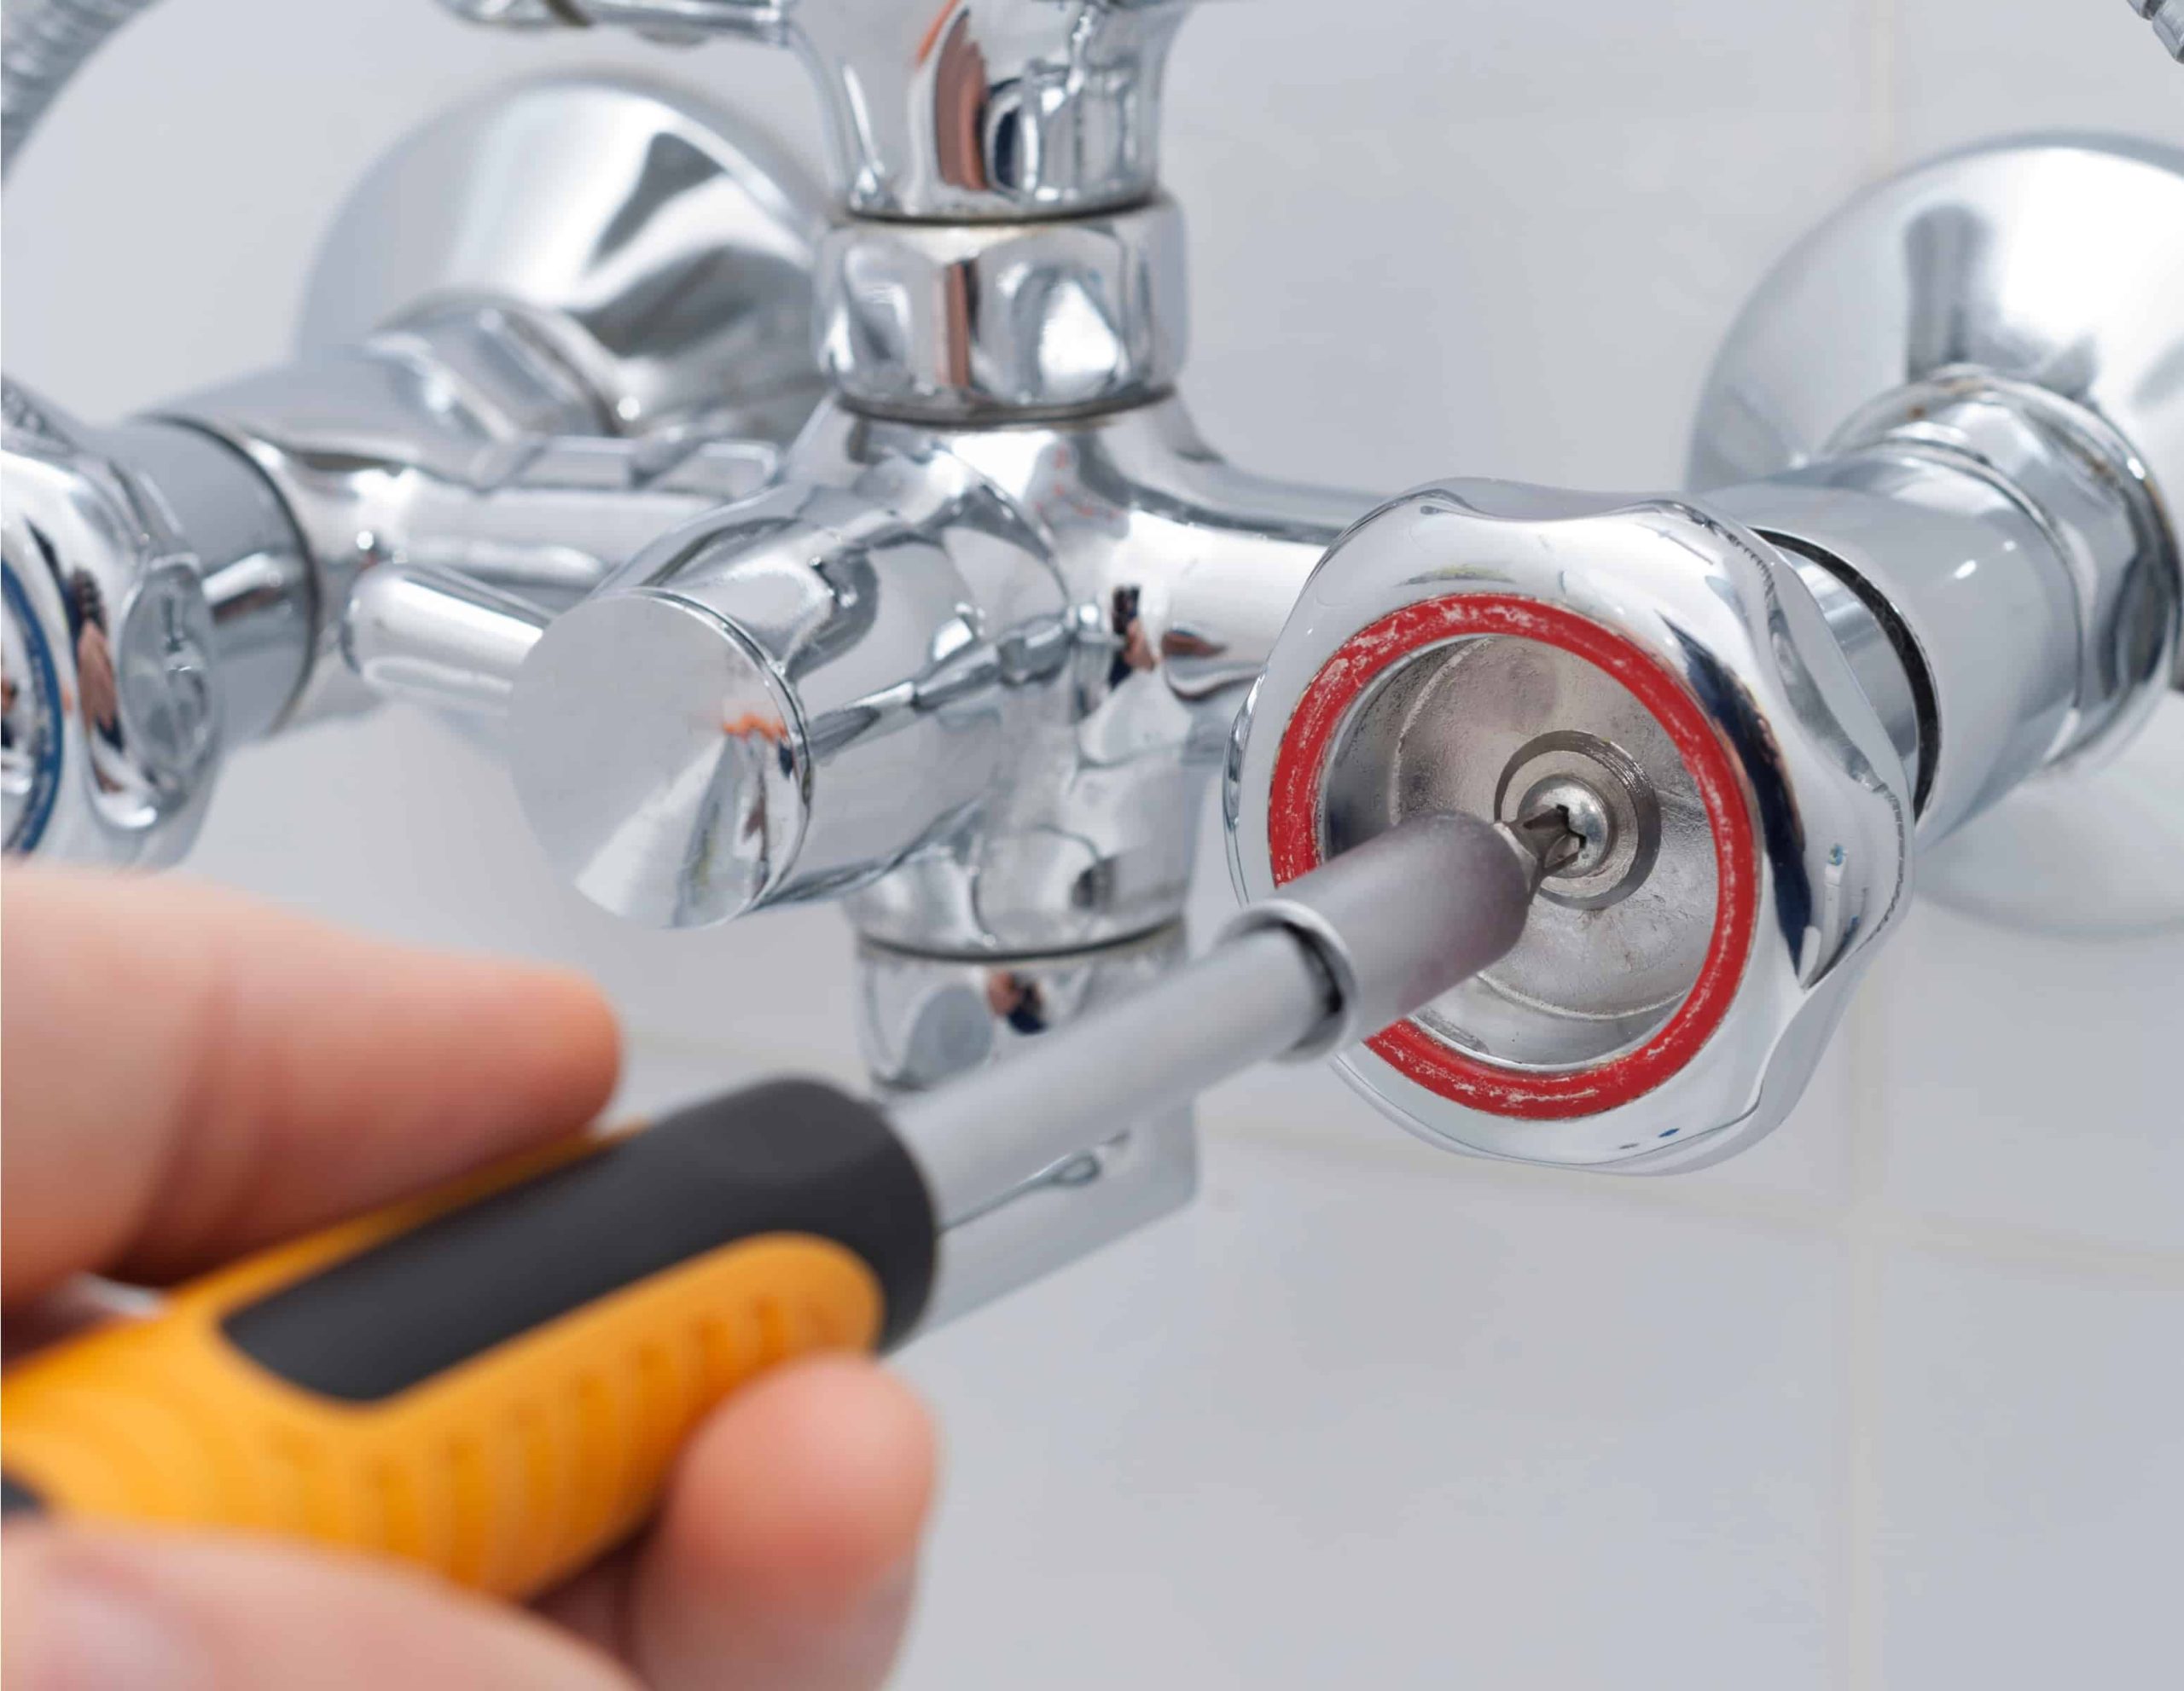
Disassembling the Faucet:
With a clear understanding of the problem, carefully remove the handles and any decorative coverings to access the internal components. Use the appropriate tools to avoid causing damage during disassembly.
Once you’ve exposed the cartridge or stem assembly, conduct a thorough inspection for any visible signs of damage or wear.
Replacing Faulty Components
Upon identifying damaged components, such as a worn-out cartridge or O-ring, replace them with new, compatible parts. Applying plumber’s tape to threaded connections is essential to prevent future leaks.
Reassembling the Faucet
Take care during the reassembly process, ensuring all parts are securely tightened and correctly aligned. This step is critical to preventing future leaks.
Follow the reverse order of disassembly, referring to any documentation or guides provided by the faucet’s manufacturer.
Testing for Leaks:
Once the faucet is reassembled, turn the water supply back on and conduct a thorough test for leaks. Run both hot and cold water to ensure the issue is fully resolved.
If no leaks are detected, congratulations! You’ve successfully fixed your leaky shower faucet.
FAQs:
Q1: How long does it take to fix a leaky shower faucet?
A1: The duration varies based on the complexity of the issue. Simple fixes may take around 30 minutes, while more involved repairs could extend to an hour or more.
Q2: Can I use any replacement parts for my two-handle faucet?
A2: It’s crucial to use replacement parts that are compatible with your specific faucet model. Refer to the manufacturer’s guidelines or seek assistance from a plumbing professional if uncertain.
Q3: Do I need to turn off the water supply to the entire house before fixing the faucet?
A3: No, you can usually turn off the water supply specifically to the shower. Locate the shut-off valves, typically found under the sink or in the utility room.
Q4: Is fixing a leaky shower faucet a job for a professional plumber?
A4: While some repairs are simple and can be done by homeowners, if you’re unsure or the issue persists, it’s wise to consult a professional plumber for expert assistance.
Conclusion:
Fixing a leaky shower faucet with a two-handle design is a manageable task that not only saves money but also promotes water conservation. By gaining a thorough understanding of the system, gathering the right tools, and following a systematic approach, you can successfully troubleshoot and repair your shower faucet. Take your time, follow safety precautions, and don’t hesitate to seek professional help if needed, ensuring a functional and leak-free shower for the long term.

A group of home improvement enthusiasts and bathroom design experts, combines in-depth knowledge and a shared passion to deliver engaging, informative content that guides readers through the world of bathroom innovation and style.
Leave a Reply