The installation of a wax ring is a vital step in setting up a toilet, as it ensures a leak-proof and odor-free connection to the plumbing system. This guide covers the tools, materials, and steps required for a successful installation.
Preparation
Safety and Preparation: Before starting, turn off the water supply, drain the toilet, and wear gloves for hygiene.
Tools and Materials: Essential items include a new wax ring, wrench, putty knife, sponge, and old towels.
Work Area Setup: Clear the space around the toilet and cover the floor with towels for spill protection.
Removing the Old Toilet
Step-by-Step Removal: Shut off the water supply, flush the toilet, disconnect the water line, remove bolts, and gently lift the toilet off the flange.
Avoiding Damage: Handle the toilet carefully to prevent porcelain damage and contain water spillage.
Preparing the Flange
Flange Maintenance: Clean off old wax, inspect for damage, and ensure it’s level with the floor.
Flange Adjustment: If the flange is too low, use flange extenders or extra-thick wax rings.
Damage Check: Replace the flange if it’s cracked or broken.
Choosing the Right Wax Ring
Wax Ring Types: Select between standard rings or reinforced rings with a plastic horn, based on your toilet’s specifications.
Size and Fit: Ensure the wax ring fits the toilet’s outlet and the flange’s opening.
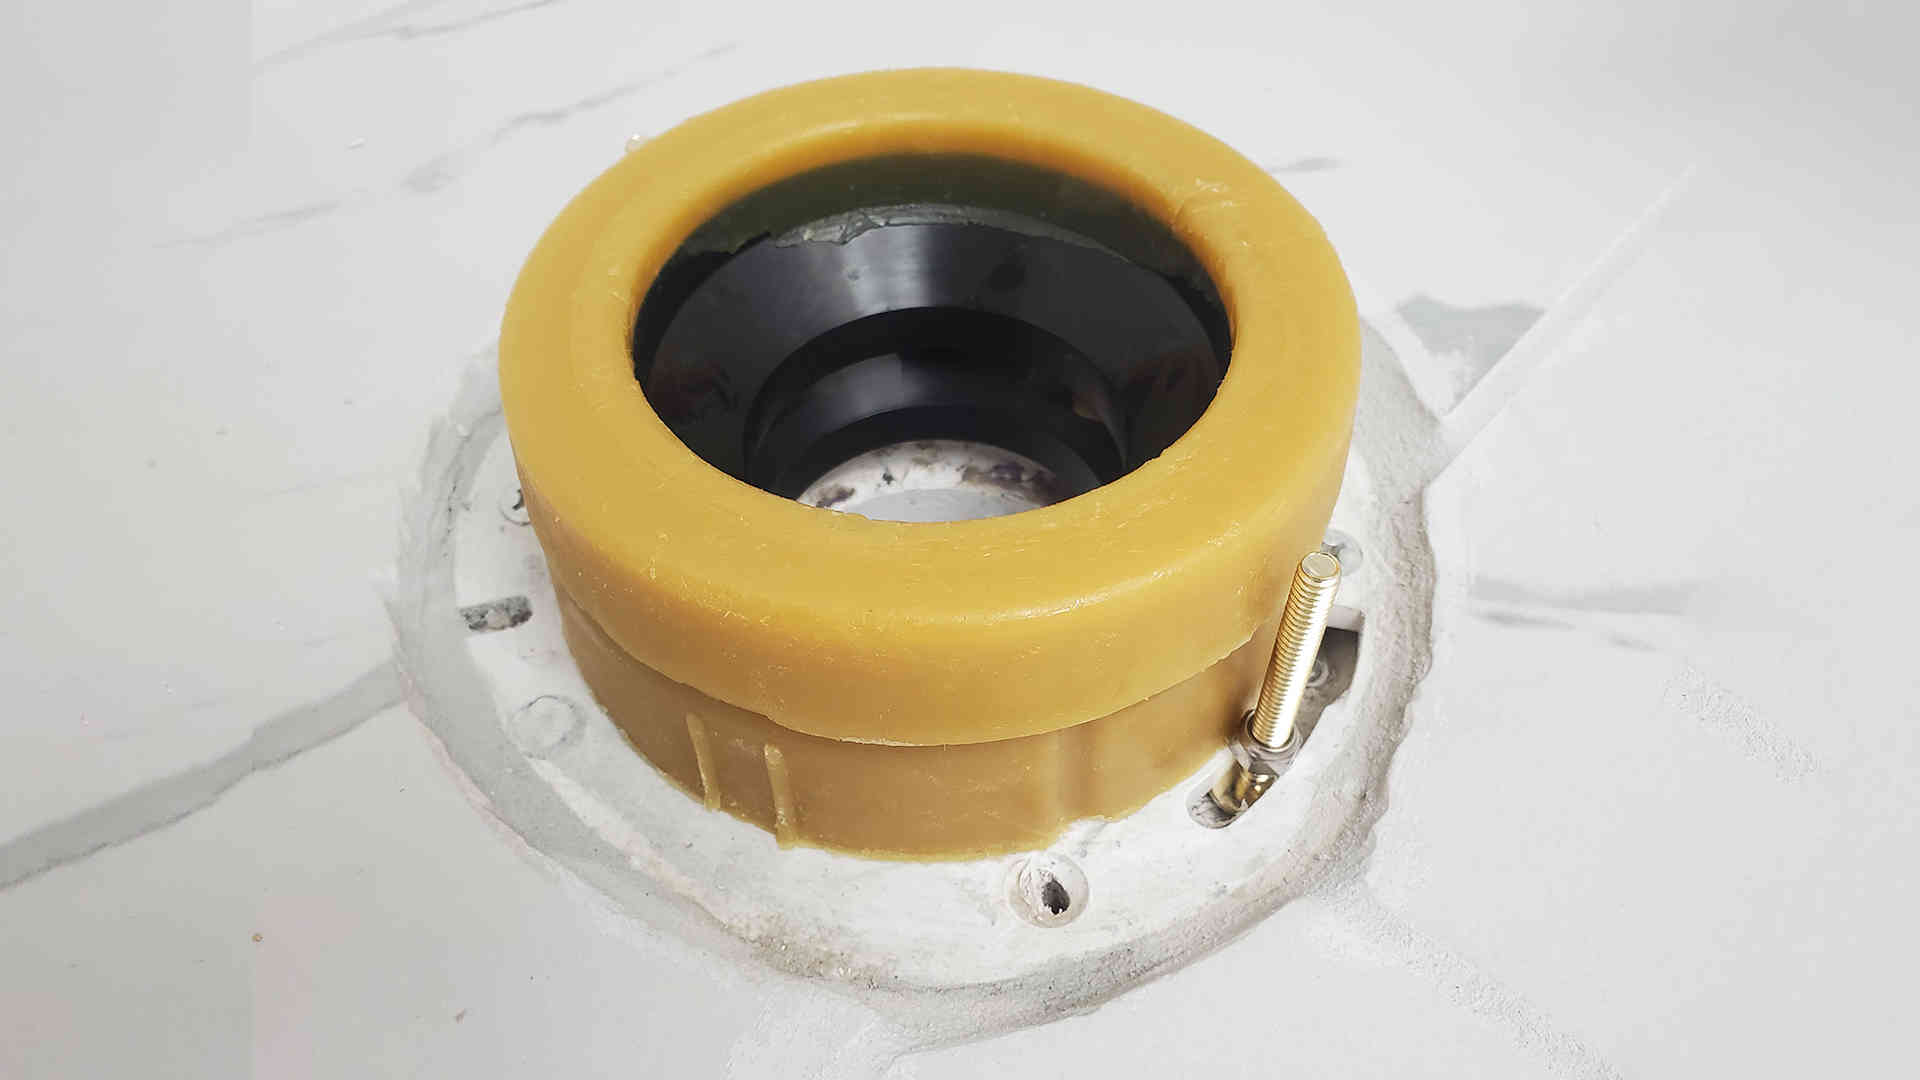
Installing the Wax Ring
Installation Steps: Center the wax ring on the flange and press down lightly to affix.
Seal Integrity: Avoid distorting the wax ring during installation to maintain a proper seal.
Setting the Toilet
Toilet Placement: Align and lower the toilet onto the flange, ensuring the bolts pass through the base.
Securing the Toilet: Tighten the bolts gradually, alternating sides to keep the pressure even.
Preventing Seal Damage: Avoid excessive movement once the toilet is set.
Final Steps
Water Connection: Reattach the water supply and turn it on slowly, checking for leaks.
Leak Testing: Flush multiple times to test the integrity of the installation.
Cleanup: Dispose of the old wax ring and materials, and tidy up the area.
Troubleshooting Common Issues
Leak Solutions: Tighten bolts or reposition the toilet for leaks at the base.
Adjusting for Rocking: Shim the toilet base if it’s unstable, and ensure it’s level.
Conclusion
Proper installation and regular maintenance of the wax ring are crucial for a functional and hygienic toilet. Regular inspections for leaks can prolong the wax ring’s life.
FAQs
- How often should I replace my wax ring?
- Answer: Typically, when you change or remove the toilet. There’s no set lifespan but look for signs of leaks or odors.
- Can I use two wax rings if my flange is too low?
- Answer: Yes, stacking two wax rings can help, but a better solution is a flange extender or a thicker wax ring.
- What if the wax ring size doesn’t seem to fit?
- Answer: Wax rings come in standard sizes. Ensure you have the right size for your toilet and flange.
- Do I need any special tools for this job?
- Answer: Basic tools like a wrench and putty knife are sufficient. A level can be helpful to check the toilet’s alignment.
- Is it okay to reuse an old wax ring?
- Answer: No, always use a new wax ring for a proper seal.

A group of home improvement enthusiasts and bathroom design experts, combines in-depth knowledge and a shared passion to deliver engaging, informative content that guides readers through the world of bathroom innovation and style.
Leave a Reply