Introduction:
A persistent drip from your shower head can be more than just an annoyance; it can lead to water wastage and increased utility bills. Fortunately, addressing this common household issue is well within the realm of a do-it-yourself project. In this comprehensive guide, we will walk you through each step, from gathering the necessary tools to conducting a final check for leaks. Taking the time to fix a dripping shower head not only saves you money but also contributes to water conservation efforts.
I. Gathering Tools and Materials:
Before embarking on the repair journey, gather the necessary tools and materials. An adjustable wrench, replacement washers, Teflon tape, a screwdriver, and pipe compound are among the items you’ll need. Having everything ready beforehand ensures a smooth and efficient repair process.
II. Turning Off Water Supply:
Locate the water shut-off valve dedicated to the shower and turn off the water supply. This precautionary step is essential for preventing any unexpected water spurts and ensuring a mess-free repair environment.
III. Removing the Shower Head:
Using an adjustable wrench, carefully loosen and detach the shower head from the shower arm. While doing so, take a moment to inspect the existing washers for wear, tear, or any signs of damage that may be contributing to the drip.
IV. Replacing Washers:
Remove the old washers and replace them with new ones of the appropriate size. Ensure that the replacement washers are compatible with your specific shower head to guarantee a secure fit and prevent future leaks. This step is critical to the overall success of the repair.
V. Applying Teflon Tape:
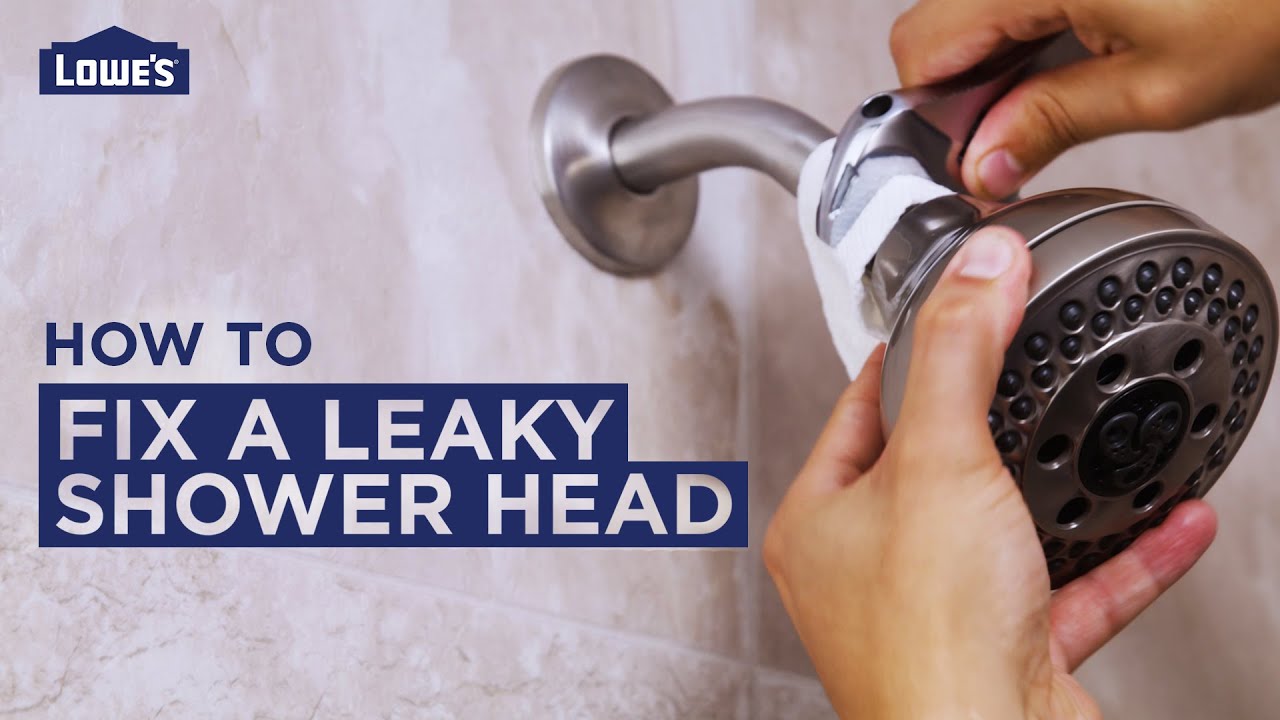
To enhance the seal, wrap Teflon tape around the threads of the shower arm. Pay close attention to the direction of the threads while applying the tape, as this small detail can make a significant difference in preventing leaks.
VI. Reattaching the Shower Head:
Carefully reattach the shower head to the shower arm. Begin by hand-tightening the connection and then use the adjustable wrench for a final, secure fit. Exercise caution to avoid overtightening, which could potentially damage the shower head or arm.
VII. Testing for Leaks:
With the water supply turned back on, carefully inspect the connections for any signs of leaks around the shower head. If leaks persist, use the adjustable wrench to tighten the connections further until the issue is resolved.
VIII. Using Pipe Compound (if necessary):
In cases where leaks continue, apply pipe compound to the threads as an additional measure to ensure a watertight seal. Reassemble the shower head and shower arm following the manufacturer’s guidelines.
IX. Final Check:
Perform a final check to confirm that the shower head is securely attached, and there are no visible leaks. Run the shower to test for proper water flow, ensuring that your efforts have resulted in a fully functional and leak-free shower.
FAQs:
Q1: Can I use any replacement washer for my shower head?
A1: It’s crucial to use washers of the appropriate size for your specific shower head to ensure a proper fit and prevent leaks. Check your shower head’s manual or consult with a hardware professional if needed.
Q2: Do I need to turn off the water supply to the entire house to fix a dripping shower head?
A2: No, you can typically turn off the water supply to the specific shower using the shut-off valve located in the vicinity. This allows for a targeted and efficient repair without disrupting water supply to the entire house.
Q3: How tight should I make the connections when reattaching the shower head?
A3: Hand-tighten the connections initially, and then use an adjustable wrench for a snug fit. Avoid over-tightening to prevent damage to the shower head or shower arm threads. If unsure, refer to the manufacturer’s guidelines for torque specifications.
X. Conclusion:
Fixing a dripping shower head is not just a practical DIY task but also a responsible contribution to water conservation. By following the outlined steps and conducting thorough checks, you not only eliminate an annoying drip but also actively participate in sustainable water usage practices. Regular maintenance and prompt repairs not only save you money but also contribute to the longevity of your plumbing fixtures. Enjoy your newly restored, leak-free shower!

A group of home improvement enthusiasts and bathroom design experts, combines in-depth knowledge and a shared passion to deliver engaging, informative content that guides readers through the world of bathroom innovation and style.

Leave a Reply