Introduction:
A functional shower valve is the unsung hero of a satisfying shower experience, regulating water flow and temperature. However, wear and tear over time can lead to leaks, reduced water pressure, or other issues, signaling the need for a replacement. In this comprehensive guide, we will take you through each step of the process, empowering you to replace your shower valve efficiently and confidently.
I. Gather Necessary Tools and Materials:
Before embarking on the replacement journey, assemble the necessary tools and materials. These include an adjustable wrench, pipe wrench, screwdrivers, a new shower valve, plumber’s tape, and pipe dope. Having the right equipment at the outset will streamline the entire process.
II. Turn Off Water Supply:
Begin the replacement process by locating and shutting off the main water supply to the shower. To prevent a watery mess, open the faucet to allow any remaining water in the pipes to drain out.
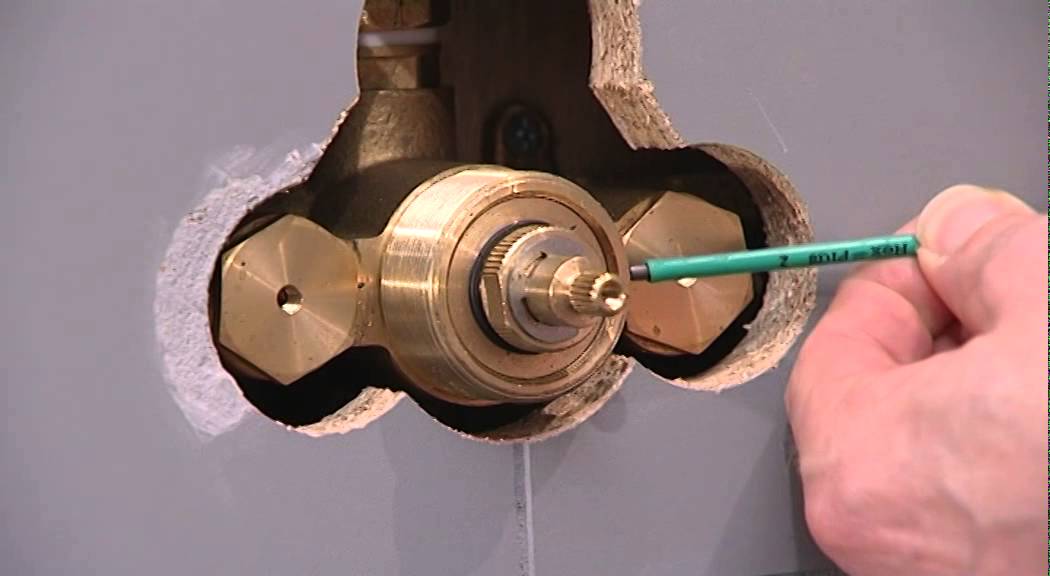
III. Remove the Old Shower Valve:
With the water supply turned off, proceed to remove the shower handle and trim. Use a wrench to disconnect the water supply lines and a pipe wrench to loosen and remove the old valve. Take a moment to clean the area around the old valve, ensuring a clean slate for the new installation.
IV. Install the New Shower Valve:
Prepare the new valve by wrapping its threads with plumber’s tape. Insert the new valve into the opening in the shower wall and secure it tightly using a pipe wrench. Reconnect the water supply lines to the corresponding connections on the new valve.
V. Test the Installation:
With the new valve in place, it’s time to test the installation. Turn on the main water supply and carefully inspect for any leaks around the new valve. Operate the shower to ensure the valve functions correctly, adjusting as needed.
VI. Reassemble the Shower:
Affix the trim and handle to the new valve, ensuring all components are securely in place. Double-check for leaks and tighten any connections if required. This step not only ensures proper functionality but also restores the aesthetic appeal of your shower.
VII. Clean Up and Final Checks:
Wipe down the area around the newly installed valve to remove any residue. Dispose of old parts and materials responsibly. Finally, confirm that the shower is working flawlessly and without any leaks.
VIII. Troubleshooting Tips:
Be prepared for common issues that may arise during the replacement process. If you encounter stubborn connections or persistent leaks, consult troubleshooting tips such as applying penetrating oil or reapplying plumber’s tape.
FAQs:
Q1: How often should a shower valve be replaced?
A: Shower valves generally last for several years, but if you notice leaks or a decline in water flow, it’s time for a replacement.
Q2: Can I replace a shower valve myself, or should I hire a professional?
A: While a shower valve replacement can be a DIY project, hiring a professional is advisable for those unfamiliar with plumbing tasks to ensure a seamless installation.
Q3: What should I do if I encounter a stubborn, old valve that won’t come off?
A: Apply penetrating oil to loosen a stubborn valve, and use a pipe wrench with steady pressure to gradually turn and remove it.
Conclusion:
Replacing a shower valve might seem like a daunting task, but armed with the right tools, materials, and guidance, it becomes a manageable DIY project. Regular maintenance and timely replacements not only preserve your bathroom fixtures but also guarantee a consistently enjoyable shower experience. By following these detailed steps, you’ll successfully install a new shower valve, enhancing the longevity and performance of your shower system.

A group of home improvement enthusiasts and bathroom design experts, combines in-depth knowledge and a shared passion to deliver engaging, informative content that guides readers through the world of bathroom innovation and style.
Leave a Reply