Introduction:
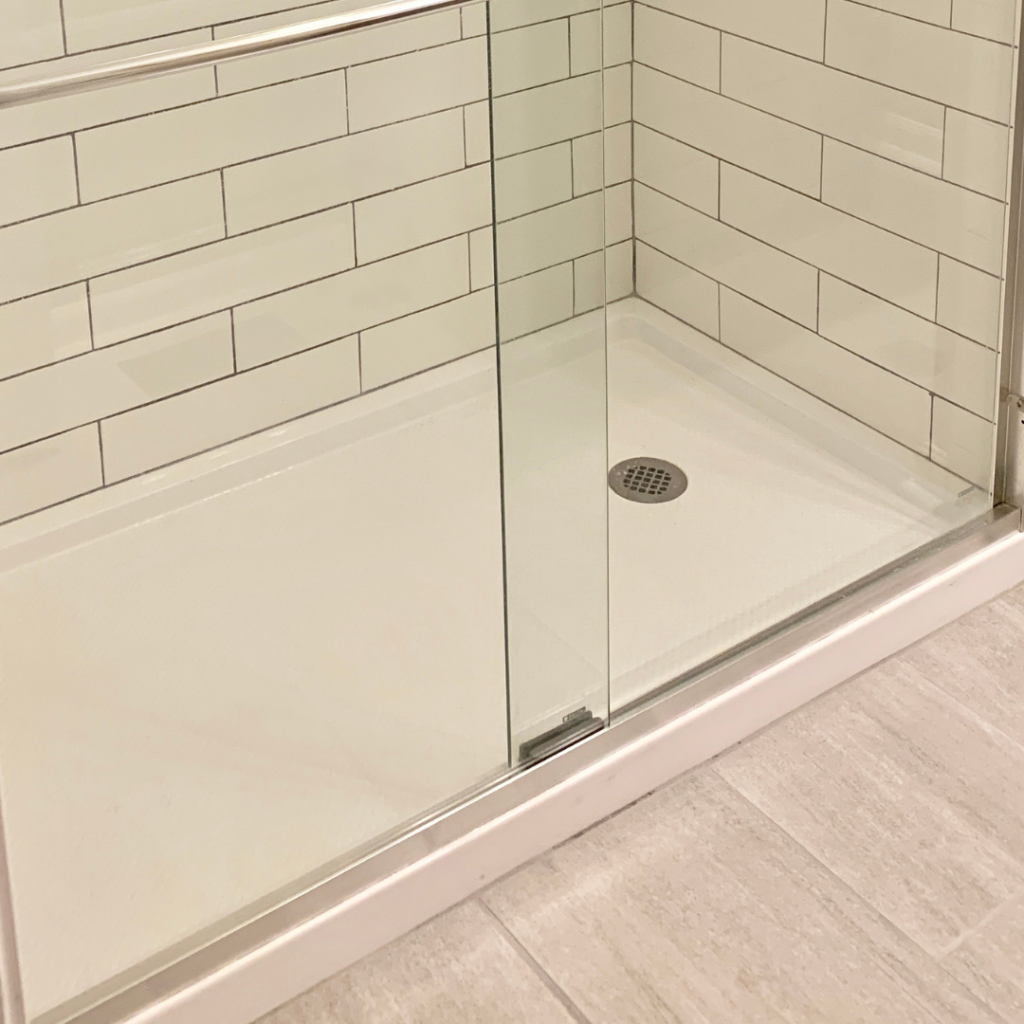
A well-installed shower pan is the unsung hero of your bathroom, safeguarding against leaks and water damage. Whether you’re undertaking a bathroom renovation or constructing a new home, mastering the art of installing a shower pan is a pivotal skill. This in-depth guide will walk you through each step, from the initial gathering of tools and materials to the final inspection, ensuring a seamless installation process.
I. Gather Necessary Tools and Materials
Before embarking on the installation journey, assemble the essential tools and materials for a hassle-free experience. The following checklist will help you prepare adequately:
Tools:
- Measuring Tape: Accurate measurements are the foundation of a successful installation.
- Screwdriver: For securing screws and fastening components.
- Level: Ensures that your shower pan is perfectly horizontal.
- Trowel: Necessary for applying mortar evenly.
- Rubber Mallet: Aids in gently tapping components into place.
- Pipe Wrench: Essential for securing the drain assembly.
Materials:
- Shower Pan Kit: Typically includes the pan itself and necessary components.
- Mortar Mix: Choose a mix designed for shower installations for optimal adhesion.
- Screws: Secure the shower pan to the subfloor or studs.
- Waterproof Membrane: Protects against water damage on the subfloor and walls.
- Silicone Caulk: Creates a watertight seal around edges and corners.
- Drain Assembly: Facilitates proper drainage.
II. Measure and Prepare the Space
Accurate measurements are paramount for a successful installation. Begin by measuring the shower space to ensure compatibility with your chosen shower pan. Simultaneously, scrutinize the subfloor’s levelness and make any necessary adjustments to guarantee a stable foundation for the pan. Confirm the precise placement and connection of the drain to prevent future complications.
III. Install the Drain Assembly
The drain assembly plays a pivotal role in preventing leaks. Start by attaching the drain flange securely to the subfloor. Connect the drain pipe to the waste pipe and ensure a watertight seal using plumber’s putty or silicone caulk.
IV. Apply the Waterproof Membrane
Safeguard your bathroom from water damage by applying a waterproof membrane. Cut the membrane to the appropriate size, applying it meticulously to the subfloor and up the walls. Pay special attention to corners and seams, ensuring a secure and impenetrable seal against moisture.
V. Mix and Apply Mortar
Create a robust foundation by preparing the mortar according to the manufacturer’s instructions. Apply the mortar evenly to the subfloor and gently press the shower pan into position. Allow sufficient time for the mortar to cure, typically ranging from 24 to 48 hours.
VI. Secure the Shower Pan
Stability is key, so securely screw the shower pan to the studs or subfloor. Regularly check the level during this process to guarantee a perfectly horizontal installation. A snug fit is essential to prevent any undesirable movement.
VII. Seal Edges and Corners
Apply silicone caulk liberally along the edges and corners of the shower pan. Smooth out the caulk to create a neat and watertight seal. This step not only enhances the pan’s stability but also provides an aesthetic finish.
VIII. Test for Leaks
Before declaring victory, fill the shower pan with water to conduct a thorough leak test. Pay close attention to any signs of water pooling or drainage issues. Promptly address and rectify any leaks detected during this critical phase.
IX. Final Inspection and Cleanup
Conduct a meticulous inspection of the entire installation. Ensure no steps were overlooked and there are no lingering issues. Clean up any excess mortar, caulk, or debris, leaving your newly installed shower pan ready for the subsequent steps in the shower installation process.
FAQs:
Q1: Can I use any mortar mix for the shower pan installation?
A1: It’s highly recommended to use a mortar mix specifically designed for shower installations. This ensures optimal adhesion and durability in a wet environment.
Q2: How long does the mortar take to cure?
A2: Curing times can vary, but it typically takes 24 to 48 hours for the mortar to set completely. Follow the manufacturer’s guidelines for the specific mix you’ve chosen.
Q3: Do I need professional help for installing a shower pan?
A3: While installing a shower pan is a manageable DIY project, if you feel uncertain or uncomfortable with any step, seeking professional assistance is a wise decision to ensure a flawless installation.
Conclusion:
Mastering the installation of a shower pan is a crucial skill for any homeowner or DIY enthusiast. By diligently following these step-by-step instructions and paying careful attention to details, you can create a watertight barrier that not only prevents leaks but also contributes to the longevity and functionality of your bathroom. The satisfaction of a well-installed shower pan awaits you, providing a secure foundation for countless refreshing showers in the years to come.

A group of home improvement enthusiasts and bathroom design experts, combines in-depth knowledge and a shared passion to deliver engaging, informative content that guides readers through the world of bathroom innovation and style.

Leave a Reply