Introduction:
The toilet, a silent hero in our homes, plays a crucial role in our daily lives. The comfort it provides can be disrupted by a loose toilet seat, an inconvenience that many of us have encountered. Fret not! In this detailed guide, we will take you through the process of tightening your toilet seat, ensuring not just stability but a hassle-free experience. Let’s delve into the nuts and bolts (quite literally!) of this essential bathroom maintenance task.
I. Identify the Type of Fasteners:
Understanding the anatomy of your toilet seat is the first step to successful tightening. Most modern toilet seats use either bolts and nuts or screws to secure them to the toilet bowl. Before proceeding, take a moment to inspect your toilet seat and determine the type of fasteners in use.
II. Access the Fasteners:
Hinge caps and screw covers are the gatekeepers to the fasteners holding your toilet seat in place. For seats with bolts and nuts, locate the hinge caps at the back of the seat and gently pry them open.
In the case of screws, the covers are typically found on the underside of the seat. Carefully remove these covers to reveal the fasteners awaiting your attention.
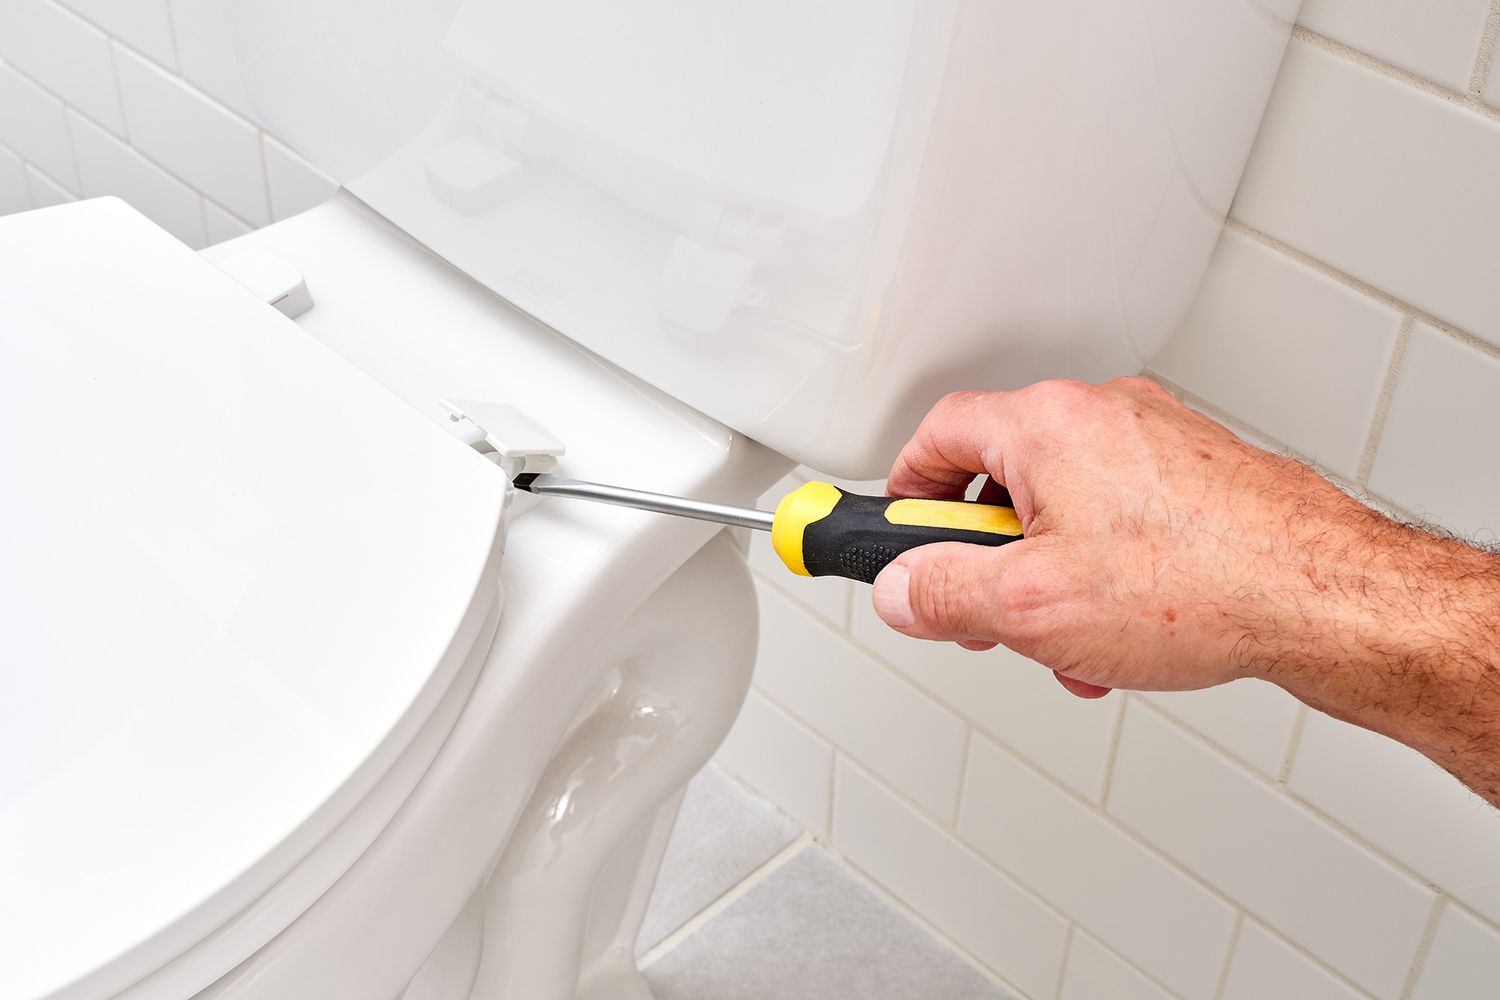
III. Secure the Fasteners:
Armed with the knowledge of your fastener type, it’s time to tighten things up. If your toilet seat uses bolts and nuts, grab an adjustable wrench. Hold the nut in place with the wrench while using another wrench or screwdriver to tighten the bolt.
For seats with screws, a trusty screwdriver is your tool of choice. Ensure a firm but not excessive grip to avoid damaging the seat or the toilet bowl.
IV. Check Tightness:
With the fasteners securely tightened, it’s time for a litmus test. Gently wiggle the seat to check for stability. If there’s still a bit of wobble, don’t worry. We have a few more steps to fine-tune the tightness and ensure your seat is rock-solid.
V. Adjust as Needed:
If the seat remains less than sturdy, it might be a matter of adjusting its position on the bowl. Experiment with the placement before re-tightening the fasteners. This iterative process will help you find the perfect balance between stability and comfort.
VI. Trim Excess Bolt Length (if applicable):
Some toilet seats come with bolts that may extend beyond the nuts. If this is the case, grab a hacksaw and carefully trim the excess length. Exercise caution to avoid causing damage to the toilet bowl during this process.
VII. Replace Hinge Caps or Screw Covers:
As the final touch, once you’re satisfied with the tightness and positioning, reattach the hinge caps or screw covers. This not only conceals the fasteners but also gives your toilet a polished and finished appearance.
FAQs:
Q1: Why is my toilet seat loose?
- A: Toilet seats can loosen over time due to regular use, wear and tear, or changes in humidity. Regular maintenance can prevent this issue.
Q2: Can I use a regular screwdriver for tightening?
- A: Yes, a regular screwdriver is generally suitable for tightening most toilet seat screws. However, consider using the appropriate tool based on the type of fasteners your seat has.
Q3: How much force should I apply when tightening?
- A: Apply enough force to ensure a snug fit, but avoid over-tightening to prevent damage. Use your judgment and feel for resistance.
Q4: What if my toilet seat still feels loose after tightening?
- A: If issues persist, consider adjusting the seat’s position on the bowl before re-tightening. If the problem persists, consult the manufacturer’s instructions or contact customer support for guidance.
Conclusion:
Maintaining a secure toilet seat is a small yet crucial task that significantly contributes to your daily comfort. By following these steps and understanding the nuances of your toilet seat’s fasteners, you can enjoy a stable and worry-free bathroom experience. Regular attention to this often overlooked component will extend its lifespan and keep your bathroom routine running smoothly. Remember, a little effort goes a long way in ensuring the longevity of your bathroom fixtures.

A group of home improvement enthusiasts and bathroom design experts, combines in-depth knowledge and a shared passion to deliver engaging, informative content that guides readers through the world of bathroom innovation and style.
Leave a Reply