Dealing with a clogged sink can be a frustrating experience, and a malfunctioning or obstructed drain stopper often plays a role. Fortunately, removing a sink drain stopper is a task that can be accomplished with ease, provided you have the right tools and a basic understanding of the process. In this comprehensive guide, we’ll walk you through the steps for both pop-up and lift-and-turn drain stoppers, offering detailed instructions to help you navigate the process successfully.
Removing a Pop-Up Drain Stopper:
Clear the Area:
Begin by clearing the sink and its surroundings to provide ample space for the task at hand.
Access the Drain Stopper:
Navigate under the sink and identify the horizontal rod connected to the back of the drain pipe.
Loosen the Clevis Screw:
Locate the clevis screw attached to the horizontal rod and use pliers or an adjustable wrench to turn it counterclockwise. This action will loosen the screw.
Disconnect the Rod:
With the clevis screw loosened, disconnect the horizontal rod from the clevis strap. This step frees the stopper for removal.
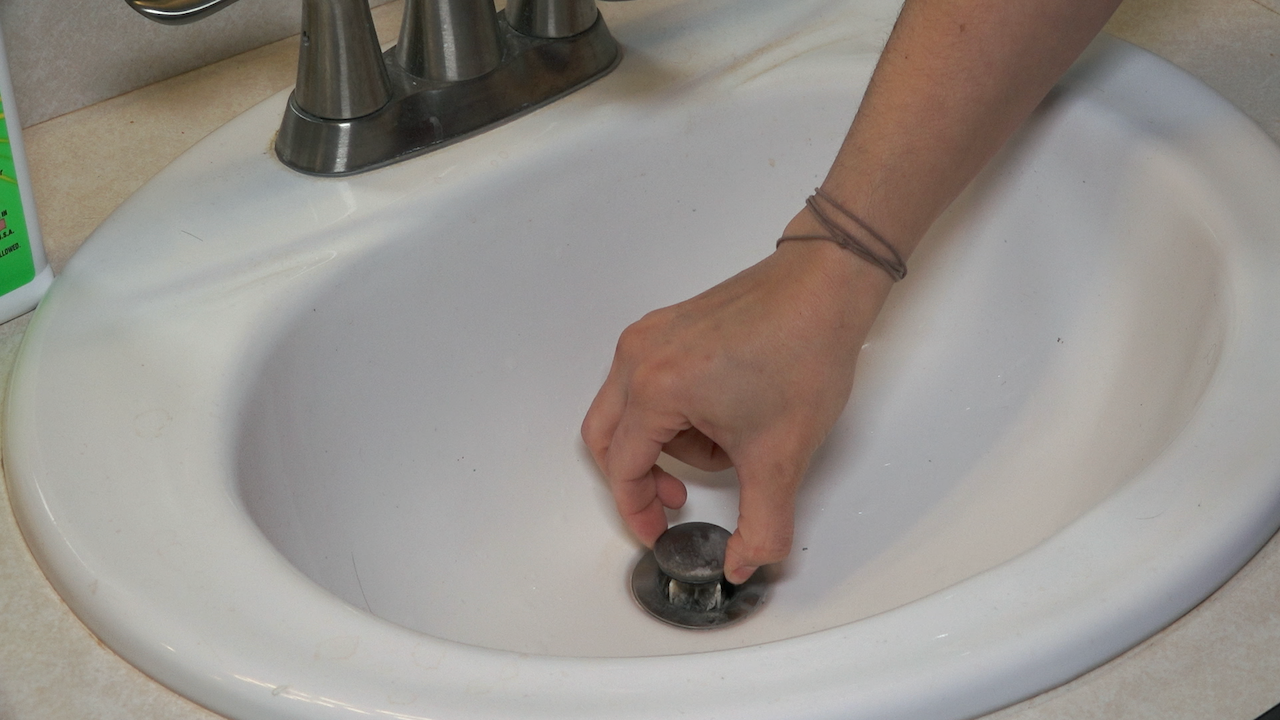
Remove the Stopper:
Lift the pop-up stopper out of the drain carefully, ensuring you avoid any unnecessary force.
Clean and Inspect:
Take the opportunity to clean the stopper and the surrounding drain area. Additionally, inspect for debris or damage that may be contributing to drainage issues.
Removing a Lift-and-Turn Drain Stopper:
Clear the Area:
As with the pop-up stopper, clear the sink and surrounding area to create a conducive work environment.
Identify the Stopper Type:
Determine whether your stopper has a set screw or if it’s a threaded stopper.
Set Screw Stopper:
If a set screw is present, use a screwdriver to loosen and remove it. This step is crucial for releasing the stopper.
Twist and Lift:
For set screw stoppers, twist the stopper counterclockwise to unscrew it from the drain, then lift it out. Ensure you execute these actions with gentle yet firm movements.
Threaded Stopper:
In the case of threaded stoppers, unscrew them counterclockwise. This can often be accomplished by hand, eliminating the need for additional tools.
Clean and Inspect:
Following stopper removal, take the time to clean the stopper and the drain area thoroughly. Conduct a visual inspection for any signs of blockages or damage.
General Tips:
Gloves: Wear rubber gloves to shield your hands from potential debris and dirty water.
Plunger: Before embarking on stopper removal, try using a plunger to clear any blockages in the drain. This preliminary step may resolve the issue without the need for further disassembly.
Bucket: Position a bucket or basin under the sink to catch any water that might spill out during the removal process. This prevents potential messes and simplifies cleanup.
FAQs:
Q1: Can I use any pliers or wrench to loosen the clevis screw on a pop-up stopper?
A1: Yes, adjustable pliers or a wrench will work. Ensure you turn it counterclockwise to loosen the clevis screw.
Q2: Do I need special tools to remove a lift-and-turn stopper?
A2: No, a screwdriver is usually sufficient for stoppers with set screws. For threaded stoppers, you can often unscrew them by hand.
Q3: What if I encounter difficulties or am unsure during the process?
A3: If you’re unsure or face difficulties, it’s recommended to seek professional plumbing assistance to avoid potential damage to your sink or plumbing system.
By following these detailed step-by-step guides and tips, you can confidently remove different types of sink drain stoppers, ensuring a smooth and hassle-free plumbing experience. Regular maintenance and prompt attention to drainage issues will contribute to the longevity and efficient operation of your plumbing system.
Conclusion
In the quest for a well-functioning sink and a smoothly flowing drainage system, mastering the art of removing sink drain stoppers proves to be an invaluable skill. Whether dealing with a pop-up or lift-and-turn mechanism, the outlined step-by-step guides provide a clear roadmap for homeowners to tackle common plumbing issues.
By taking the time to clear the area, identifying the stopper type, and following the appropriate steps, you can successfully remove a drain stopper without the need for professional assistance. The added tips, such as wearing gloves, using a plunger, and placing a bucket for water containment, ensure a tidy and efficient process.

A group of home improvement enthusiasts and bathroom design experts, combines in-depth knowledge and a shared passion to deliver engaging, informative content that guides readers through the world of bathroom innovation and style.
Leave a Reply