Introduction:
In the realm of home maintenance, the bathroom sink faucet often remains a neglected hero, silently facilitating our daily routines. However, wear and tear over the years can lead to a myriad of issues such as leaks, reduced water flow, or a faulty handle. Rather than opting for an entire replacement, mastering the art of repairing an old bathroom sink faucet can prove not only cost-effective but also a rewarding endeavor. This comprehensive guide is designed to walk you through the step-by-step process of revitalizing your aging bathroom fixture.
1. Identifying the Issue:
The first crucial step in any repair process is accurately identifying the problem. Leaks, low water pressure, or a malfunctioning handle are common issues.
Thoroughly inspect the faucet, noting the specific symptoms to pinpoint the source of the problem.
2. Gathering Tools and Materials:
Once the problem is identified, it’s time to equip yourself with the necessary tools and materials for the repair. Essential items include an adjustable wrench, screwdrivers, plumber’s tape, and a faucet repair kit.
Having everything ready beforehand ensures a smoother repair process.
3. Shutting Off Water Supply:
Safety first. Before you embark on any repairs, locate and turn off the water supply to the sink.
Usually found beneath the sink, the shut-off valves should be turned clockwise until fully closed, preventing any water flow while you work.
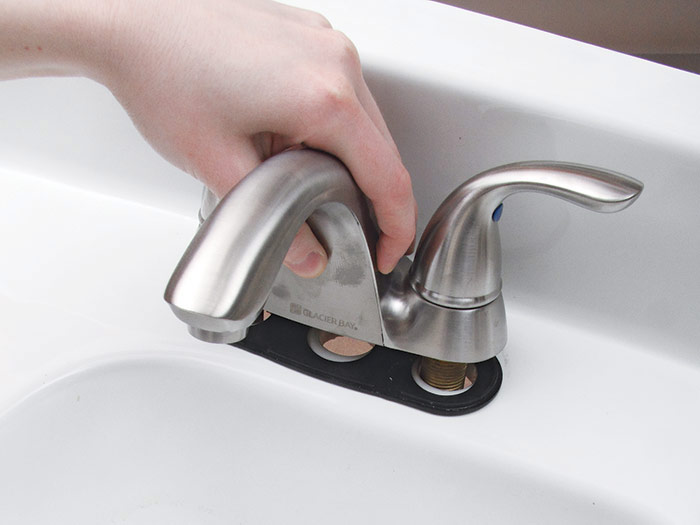
4. Disassembling the Faucet:
To access the internal components, you need to disassemble the faucet. Carefully remove the handle, spout, and any other parts using the appropriate tools. Taking photos during the process can be helpful for reassembly.
5. Inspecting and Replacing Parts:
With the faucet disassembled, inspect each part for signs of damage or wear. Common culprits include O-rings, washers, and cartridges.
Replace any worn-out or damaged components with the new ones from your faucet repair kit, applying plumber’s tape to threaded connections for a secure seal.
6. Reassembling the Faucet:
Once you’ve replaced the necessary parts, it’s time to put everything back together. Reassemble the faucet in the reverse order of disassembly, ensuring all connections are tightened securely. Be cautious not to over-tighten, as it may lead to damage.
7. Testing the Faucet:
With the faucet reassembled, turn on the water supply and put your repair to the test. Check for leaks, ensure the handle operates smoothly, and verify that the water flow has returned to normal. Make any necessary adjustments to fine-tune the repair.
8. Preventive Maintenance Tips:
To ensure the longevity of your repaired faucet, adopt some preventive maintenance practices.
Regularly clean aerators to prevent clogs, check for leaks, and address any emerging issues promptly to avoid more extensive repairs in the future.
FAQs:
Q1: Can I repair a leaky faucet without professional help?
A1: Absolutely. Many faucet issues can be resolved with basic tools and DIY knowledge. This guide provides comprehensive instructions for common faucet repairs.
Q2: What if I can’t identify the problem with my faucet?
A2: If you’re unsure, consult the manufacturer’s manual or seek guidance from online forums. If the issue persists, consider reaching out to a professional plumber for assistance.
Q3: Do I need to turn off the water supply to the entire house for faucet repairs?
A3: No, you can usually shut off the water supply to the specific fixture. Locate the shut-off valves beneath the sink and turn them off before beginning the repair.
Q4: How often should I perform maintenance on my bathroom sink faucet?
A4: Regular maintenance, such as cleaning aerators and checking for leaks, should be conducted every few months. Promptly address any issues to prevent more extensive repairs down the line.
Conclusion:
Mastering the art of repairing an old bathroom sink faucet is a worthwhile skill that not only saves you money but also contributes to a sustainable and efficient home plumbing system. With regular maintenance and prompt attention to issues, you can extend the life of your faucet, promoting a more eco-friendly and cost-effective approach to home care.

A group of home improvement enthusiasts and bathroom design experts, combines in-depth knowledge and a shared passion to deliver engaging, informative content that guides readers through the world of bathroom innovation and style.
Leave a Reply