Traveling in a camper offers a unique and liberating experience, but a clogged toilet can quickly turn a memorable trip into a frustrating ordeal. To help you navigate this common issue, we’ve compiled a comprehensive guide on unclogging your camper toilet. From initial assessment to preventive measures, these tips and techniques will ensure your camper toilet remains in optimal condition.
Initial Assessment:
Understanding the nature of the clog is crucial before diving into the unclogging process. Is it a minor obstruction caused by excess toilet paper, or is there a more stubborn blockage at play? Identifying the problem will guide your approach to finding the most effective solution.
Gather Necessary Supplies:
Before tackling the clog, gather the necessary supplies. Rubber gloves protect your hands, a plunger creates the necessary pressure, a bucket helps manage excess water, boiling water aids in breaking down organic matter, and RV-friendly toilet paper prevents future clogs. Additionally, an enzyme-based holding tank treatment maintains a healthy septic system.
Precautions:
Taking precautions ensures a smoother unclogging process. Wear rubber gloves to protect yourself from germs and potential mess. Lay down towels or plastic sheets around the toilet area to contain any spills. Proper ventilation is also essential to dissipate odors and maintain a comfortable environment.
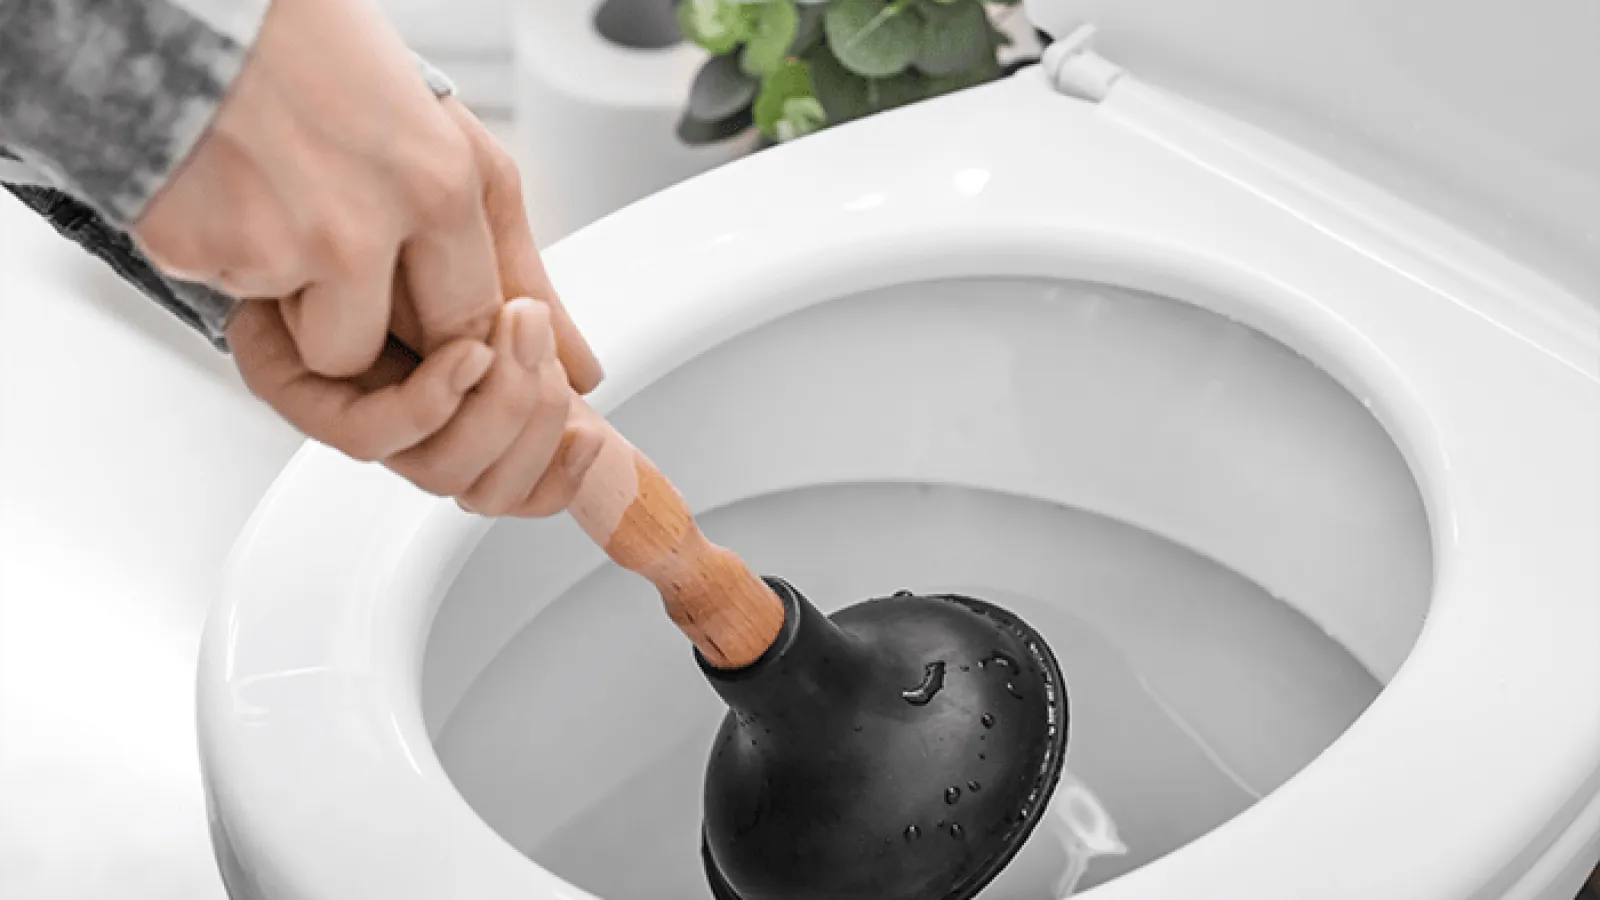
Plunging Technique:
The plunger is your first line of defense against a clogged camper toilet. Position it over the drain, creating a tight seal. Use slow, steady motions to dislodge the clog. Repeat the process until you notice improved drainage. Patience is key here.
Boiling Water Method:
Boiling water is a simple yet effective method to address clogs. Heat water to near-boiling, pour it directly into the toilet bowl, and allow it to sit for a few minutes. This helps soften and break down the clog. Flush the toilet to check for improved drainage.
Plumbing Snake:
For more stubborn blockages, a plumbing snake can be a valuable tool. Insert the snake into the drain, rotate it to break up the clog, and slowly withdraw it, pulling the debris with it.
Enzyme-Based Treatment:
Once the clog is resolved, use an RV-friendly enzyme-based holding tank treatment. Follow the product instructions for dosage and application. These treatments help break down organic matter, promoting a healthy septic system and preventing future clogs.
Post-Unclogging Cleanup:
Dispose of used gloves and any soiled materials responsibly. Thoroughly clean the plunger to avoid cross-contamination. Sanitize the toilet bowl and the surrounding area to ensure a clean and hygienic space.
Prevention Tips:
Preventing future clogs is as important as addressing the current one. Educate all users on appropriate toilet paper usage – opt for RV-friendly paper. Discourage the flushing of non-biodegradable items. Regularly use enzyme-based treatments to maintain a healthy septic system and prevent the buildup of waste.
FAQs:
Q1: Can I use a regular plunger for a camper toilet?
A: Yes, a regular plunger can be effective. Ensure a tight seal around the drain for optimal results.
Q2: How often should I use enzyme-based treatments?
A: Use them regularly, ideally after each trip, to maintain a healthy septic system.
Q3: What if the clog persists after multiple attempts?
A: If the clog persists, consider seeking professional assistance or using a more powerful plumbing snake.
Conclusion:
Incorporating these tips and techniques into your camper maintenance routine will empower you to handle toilet-related challenges efficiently. Remember, a proactive approach to maintenance and a bit of patience during unclogging efforts will ensure a smooth and enjoyable journey in your camper. Stay prepared, stay informed, and keep your camper toilet in top-notch condition for all your adventures.

A group of home improvement enthusiasts and bathroom design experts, combines in-depth knowledge and a shared passion to deliver engaging, informative content that guides readers through the world of bathroom innovation and style.
Leave a Reply